
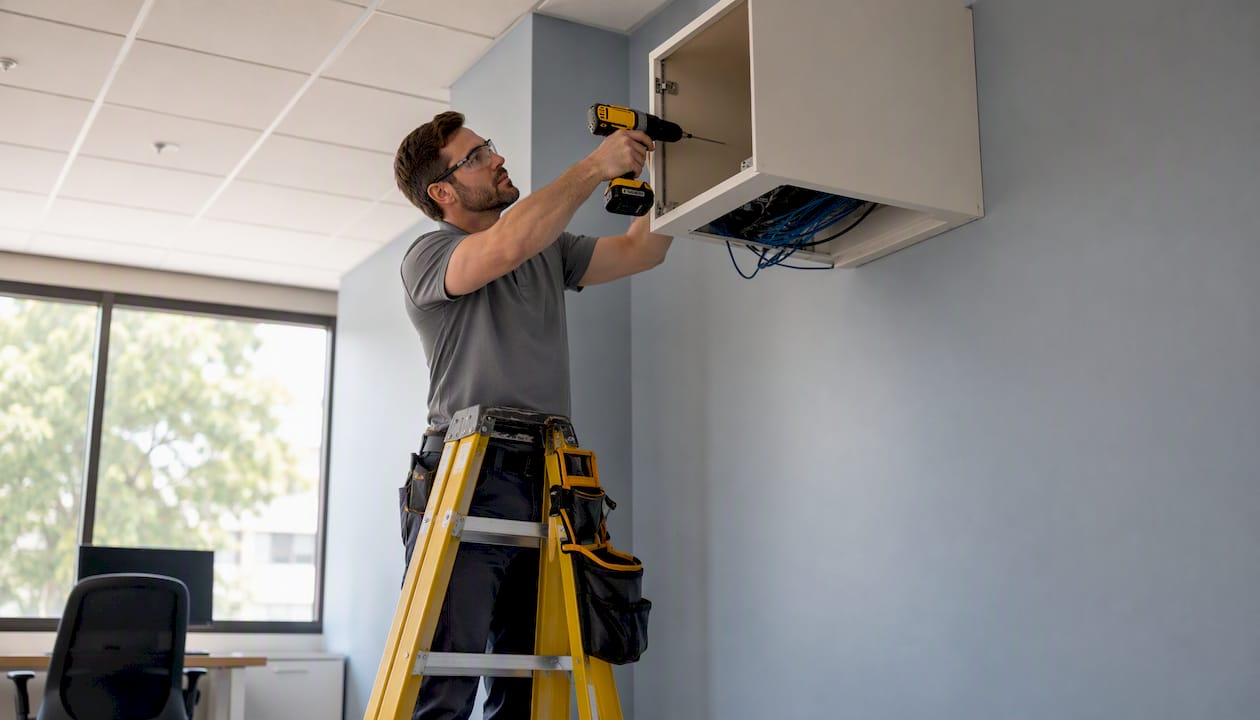
A shallow wall cabinet is a wall-mounted 19-inch enclosure, typically 6–16 inches deep, built for tight comms closets, IDF rooms, and surface-mounted installs where floor space is limited or a full-depth rack simply won’t fit. If you’re patching copper, mounting a small PoE switch, or housing a fiber termination panel, a shallow cabinet handles the job cleanly. If you’re racking a full-depth server or a large UPS, it won’t.
Before ordering, check three things: the RU count you need, the chassis depth of every device going in, and whether the wall can take the load.
When a shallow cabinet fits:
- Patch panels and keystones (typically 1–2 inches deep)
- Small managed switches (usually under 12 inches deep)
- CCTV encoders and edge compute devices
- Fiber termination and distribution frames
- Small office or retail comms points with no floor space
When it doesn’t:
- Full-depth 1U/2U servers (chassis often 24–30 inches)
- Large UPS units requiring rear ventilation clearance
- High-density switches with active side-to-side airflow
Table of Contents
- What qualifies as a shallow wall cabinet?
- When is a shallow cabinet the right choice?
- What specs do you need to verify before ordering?
- Mounting and installation: wall strength, anchors, and clearances
- How to organize the inside of a shallow cabinet
- Thermal and cable management in shallow enclosures
- Typical sizes and RU counts: quick reference
- Buying checklist and supplier questions
- Where to find datasheets and authoritative guidance
- Key Takeaways
- The case for getting the depth right the first time
- Commsbuyer stocks shallow wall cabinets with next-day delivery in Ireland
What qualifies as a shallow wall cabinet?
The industry doesn’t publish a single cutoff, but compact cabinets are broadly understood as enclosures under roughly 24 inches deep. In network and comms work, “shallow” typically means 6–16 inches of nominal depth. Standard 19-inch server racks run 24–48 inches deep and stand free on the floor; a shallow wall cabinet mounts directly to the wall, occupies no floor footprint, and is sized for passive or lightly active equipment.
RU counts for wall cabinets typically run 6RU–18RU. Smaller 6RU–9RU units suit a single switch and a patch panel. A 12RU–18RU cabinet gives room for a PDU, a small switch, patching, and a shelf or two.
| Nominal depth | Usable internal depth (approx.) | Typical equipment |
|---|---|---|
| 6–10 inches | 4–6 inches | Patch panels, keystones, fiber frames |
| 10–15 inches | 10–12 inches | Small switches (under 10"), PDUs, media converters |
| 15–20 inches | 12–16 inches | Compact PoE switches, NVR units, edge devices |
| 24+ inches | 18 inches | Standard server rack territory — not “shallow” |
Ultra-shallow wall storage can go as narrow as 6¾ inches for shelving-only applications, though that leaves no room for rackmount equipment with rear connectors.
When is a shallow cabinet the right choice?
The clearest use case is an IDF or telecoms cupboard where the wall is the only viable mounting surface. A corridor comms point, a small office with a single switch and patch panel, a retail CCTV head-end, or a building entrance facility with fiber termination all suit a shallow wall cabinet well.
Common use cases:
- IDF/MDF rooms with limited floor area
- PoE switch plus patching in a single enclosure
- Small office or retail comms point
- CCTV encoder or edge compute node
- Fiber distribution frame with no active equipment
Red flags that point to a deeper option:
- Any device with a chassis deeper than the cabinet’s usable internal depth
- Equipment requiring rear-to-front or side airflow with no room to spare
- High-density switching with significant heat output
- UPS units that need rear ventilation clearance
On the procurement side, shallow cabinets cost less than full-depth racks, save floor space, and install faster. The trade-off is limited internal volume, which constrains ventilation and future growth. A 12RU shallow cabinet filled today leaves no room for a switch upgrade next year.
Pro Tip: Plan for 20–30% spare RU capacity at install time. A cabinet that’s 80% full on day one becomes a problem the moment a new device lands on your desk.
What specs do you need to verify before ordering?
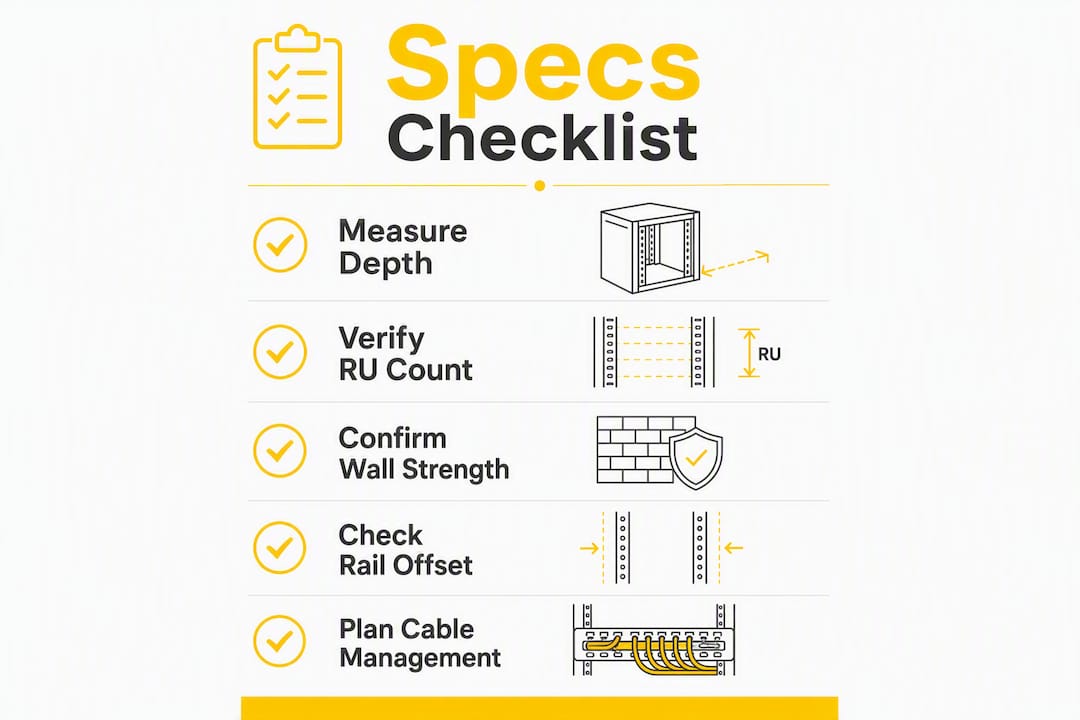
Start with chassis depth. Measure the deepest device going in, add clearance for rear connectors and cabling (typically 2–4 inches), and confirm that number fits within the cabinet’s usable internal depth, not just its nominal depth. Those two figures are rarely the same.
Full spec checklist:
- Nominal vs. usable internal depth: always verify both; mounting rails and door frames eat into nominal depth
- RU count and vertical usable space: confirm U-spacing matches standard 19-inch rails
- Static load rating (kg): must exceed the combined weight of all installed equipment
- Ventilation: passive louvres, fan tray slots, or active fans; confirm rated airflow if heat-generating devices are present
- Cable entry: top, bottom, and rear knockouts; confirm grommet or brush strip compatibility
- Door type and swing: glass, solid, or mesh; reversible or removable for tight corridors
- Lock type: standard key, cam lock, or electronic access control
- PDU mounting: vertical PDU rails or horizontal shelf mounting; confirm clearance
- Earthing/grounding provisions: bonding point for rack earth
- IP rating: relevant for plant rooms or dusty environments
Pro Tip: Request the dimension drawing, not just the spec sheet. The drawing shows rail offset from the door, which is the number that determines whether your switch actually fits.

Mounting and installation: wall strength, anchors, and clearances
Confirm wall construction before you order the cabinet. A shallow cabinet loaded with a switch, PDU, and patching can weigh 30–50 kg once cabled. Stud walls need a backing board or noggins; blockwork and concrete take anchor bolts rated to the cabinet’s static load; hollow partitions usually need a full plywood backboard spanning multiple studs.
Mounting checklist:
- Identify wall material: blockwork, concrete, timber stud, or metal stud
- Specify anchor type and confirm load rating exceeds cabinet working load
- Install a mounting plate or plywood backboard where wall backing is insufficient
- Pre-drill or fit threaded inserts before lifting the cabinet into position
- Verify PDU and cable access routes before final fixing
NKBA clearance guidance recommends sufficient clear floor space in front of any storage unit to allow for comfortable door swing and access. For a comms cabinet, that 30-inch zone is also your service access corridor.
Door swing matters more than most installers expect. A door opening of 100–110° gives full access to front-mounted equipment. In narrow corridors, specify a reversible door, a removable door, or a double-leaf option. Mounting height should place the top RU no higher than comfortable arm reach, typically with the mid-point of the cabinet at around 1.4–1.5 meters from the floor.
Numbered installation sequence:
- Mark and confirm wall backing or install backboard
- Mark fixing positions using the cabinet’s mounting template
- Drill and fit anchors or threaded inserts
- Lift cabinet onto fixings and torque to anchor specification
- Verify level, then confirm PDU and cable access before closing
How to organize the inside of a shallow cabinet
Use shallow or cantilever shelves, low-profile PDUs, and vertical cable managers. Those three choices recover more usable space than any other combination in a constrained depth.
Accessory choices:
- Fixed shelves: stable, lower cost, suited to static devices like media converters
- Cantilever shelves: no front rail obstruction, better for devices you access frequently
- Half-width shelves: two devices side by side in one RU, useful for small units
- Vertical PDUs: mount on the side rail, keep horizontal RU space free
- Brush panels and grommets: clean cable entry, reduce dust ingress
- Blanking panels: direct airflow, prevent hot air recirculation
- Cage nuts and mounting rails: confirm thread type (M6 or 10-32) matches cabinet rails
Pro Tip: Apply an 80/20 zoning approach: put frequently accessed patching and small devices in the top two-thirds of the cabinet where reach is easy, and reserve the bottom RUs for the PDU and bulkier passive equipment.
Thermal and cable management in shallow enclosures
Shallow cabinets reduce internal air volume, which makes passive cooling less effective. A single 1U switch in a 9RU shallow cabinet with a closed door can heat up faster than the same switch in an open rack. Add forced ventilation or reduce equipment density.
Thermal steps:
- Leave at least one blank RU above heat-generating devices for air movement
- Fit blanking panels in unused RUs to prevent hot air recirculation
- Add a 1U fan tray at the top of the cabinet for exhaust
- Avoid stacking two active switches without a ventilated gap between them
- Choose a mesh or louvred door over a solid door where ambient conditions allow
Cable management:
- Use vertical cable managers on the side rails to keep patch leads clear of equipment
- Fit rear brush strips at cable entry points
- Confirm cable bend radius against the cabinet’s usable depth; tight bends in shallow enclosures are a common cause of fiber damage
- Use angled patch panels where rear congestion is a problem
| Ventilation method | Best for | Limitation |
|---|---|---|
| Passive louvres | Patch-only or single switch | Ineffective above ~1–2 active devices |
| 1U fan tray (exhaust) | Small switch + PDU | Requires blanking panels to work properly |
| Active filtered intake | Multi-device installs | Adds depth and cost |
Typical sizes and RU counts: quick reference
| Nominal depth | Usable depth (approx.) | Typical RU range | Fits |
|---|---|---|---|
| 6–10 inches | 4–6 inches | 6RU–9RU | Patch panels, fiber frames |
| 10–15 inches | 10–12 inches | 9RU–12RU | Small switch, PDU, patching |
| 15–20 inches | 12–16 inches | 12RU–18RU | PoE switch, NVR, PDU, shelf |
Shallow base cabinets in the 12–15 inch depth range are a recognized standard across industries for space-constrained installs, which aligns with the 10–15 inch band being the most common shallow network cabinet depth.
Check on supplier datasheets:
- Internal rail depth (not nominal cabinet depth)
- Mounting rail offset from the front door
- Door type and whether it is reversible or removable
- Weight rating (static load, not just dynamic)
Buying checklist and supplier questions
Verify datasheets and confirm mounting requirements before placing the order. A cabinet that arrives without a dimension drawing costs you a site visit.
Questions to send to your supplier:
- Can you provide the dimension drawing showing internal rail depth and rail-to-door clearance?
- What is the static load rating, and does it include the mounting plate?
- Are fan trays, vertical PDUs, and brush panels listed as compatible accessories?
- What are the warranty terms and lead time?
- Is next-day delivery available, and do you offer trade pricing or VAT-exclusive invoicing?
Red flags:
- No downloadable datasheet on the product page
- Load rating listed as “TBC” or absent entirely
- No cable entry knockouts shown in product images
- Nominal depth stated without usable internal depth
Where to find datasheets and authoritative guidance
Always request the datasheet and dimension drawing before ordering. A spec sheet gives you load rating and accessory compatibility; the dimension drawing gives you the usable internal depth and rail offset that determine whether your equipment actually fits.
Resource types to request:
- Dimension drawings: show internal rail depth, door clearance, and cable entry positions
- Datasheets: confirm load rating, ventilation specs, and compatible accessories
- Installation manuals: specify anchor type, torque values, and mounting hardware
- Standards listings: UL or IEC listings confirm the enclosure meets electrical safety standards where required
Manufacturer product pages and supplier download sections are the primary source for these PDFs. Commsbuyer provides downloadable datasheets directly on product pages, which means you can pull the dimension drawing before the order is placed rather than chasing it afterward.
Pro Tip: Cross-reference the datasheet’s internal rail depth against your deepest device’s chassis depth plus 3 inches for rear connector clearance. If the numbers don’t clear, the device won’t fit.
Key Takeaways
A shallow wall cabinet works when you match usable internal depth to device chassis depth, confirm wall backing before mounting, and verify load rating and ventilation before the order ships.
| Point | Details |
|---|---|
| Match depth to devices | Measure chassis depth plus rear connector clearance; confirm against usable internal depth, not nominal. |
| Confirm wall backing | Blockwork, concrete, and stud walls each need different anchor types; a backboard is often required. |
| Check load rating | Static load rating must exceed the combined weight of all installed equipment and cabling. |
| Plan ventilation early | Shallow enclosures heat up fast; fit blanking panels and a fan tray before the cabinet is full. |
| Commsbuyer for Irish buyers | Commsbuyer stocks wall-mounted 19-inch cabinets with downloadable datasheets and next-day delivery across Ireland. |
The case for getting the depth right the first time
Shallow wall cabinets get specified wrong more often than almost any other piece of passive infrastructure, and the reason is almost always the same: someone ordered on nominal depth and discovered the switch chassis hits the door. The fix is a site visit, a return, and a delay.
The spec that actually matters is usable internal depth, which is the distance from the front face of the mounting rail to the inside of the closed door. That number is rarely printed on the front of a product listing. You have to pull the datasheet or the dimension drawing to find it. On a busy procurement cycle, that step gets skipped.
The other thing installers underestimate is wall backing. A shallow cabinet loaded with a switch and PDU is heavier than it looks, and a hollow partition with no noggins is not the right anchor point. A plywood backboard spanning two studs costs almost nothing and prevents a cabinet from pulling out of the wall two years later.
Get the dimension drawing, confirm the wall backing, and the rest of the install is straightforward.
Commsbuyer stocks shallow wall cabinets with next-day delivery in Ireland
For Irish IT teams and contractors who need a wall-mounted network cabinet without the wait, Commsbuyer is the direct route. The difference from ordering through a generic distributor is concrete: datasheets and dimension drawings are available on every product page before you buy, pricing is shown ex- and inc-VAT so your PO matches the invoice, and stock is held locally in Ireland for next-day delivery.

Trade accounts are available for contractors and system integrators placing volume orders, with tiered pricing and project support. No chasing PDFs after the order ships, no surprise lead times, and no VAT ambiguity on the invoice.
Browse the full range of wall-mounted network cabinets at Commsbuyer, download the datasheet for the cabinet you need, and confirm your order with next-day delivery available across Ireland.